How to Glue a Finished Jigsaw Puzzle?
What you need before you start
A finished puzzle
Puzzle glue
A couple of foam boards or wax paper
A cardboard or brush (to spread the glue)

Step 1
Apply a foam board, or wax paper or a large flat sheet under your puzzle, which effectively prevents the puzzles from sticking to your table and making a mess. Remember to make the puzzle pieces as flat as possible.
Step 2
You may apply any type of puzzle glue on the puzzle, like spray-on, powder or liquid. Now you may smear the front side with glue and spread out evenly all over the puzzle, including the edges, with a piece of cardboard or a brush. All pieces should be covered with glue or they nay break up. Please note that too much glue may cause swollen or broken pieces that ruin your work!
Step 3
The puzzle should not be moved before drying out. This may take 1 ~ 4 hours, based on the glue you chose. Then congratulations! You can pick up the puzzle by the corner now. Separate the puzzle and the underlayer with a ruler or spatula.
Step 4
You may need a backer, which prevents the pieces from warping or breaking up, to support your puzzle before hanging it up. A “dry mounting board” is a good choice that is available in local craft stores. Adhere the backer board to the back of the puzzle by applying the glue you selected. Roll a cylinder backward and forward to make sure they stick together firmly.
Step 5
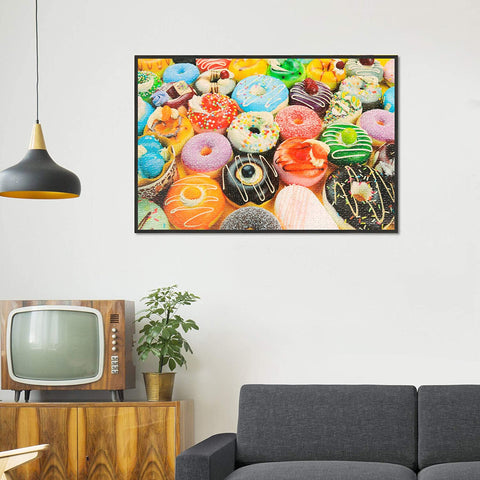
You may need a puzzle frame to put up the puzzle. Sandwich the backed puzzle between two flat boards when you need to take it elsewhere. Dry the glue up before framing the puzzle. Cover the puzzle with a clear sheet of glass or plastic as to guard the puzzle against dust, scratches and moisture.
